由於 Oracle Database 23ai 版本新增了向量資料庫和向量搜尋的功能,當然就要來用看看!但在申請 Oracle Cloud 免費版時,我遇到了信用卡驗證的問題(反覆試信用卡是有跳出被刷了10幾次R)。
為了能夠體驗 Oracle Database 23ai Free 版本,我選擇在本地環境中安裝 Oracle VM VirtualBox。本文將一步一步帶著你在 Windows 系統上成功設置 Oracle VM VirtualBox 和 Oracle Database 23ai,同時安裝 Python 和 VS Code,打造一個適合碼農開發的環境。(花了我2天QQ)
Oracle VM
Oracle VM VirtualBox 是一個跨平台的虛擬機器軟體,可以在一台主機上運行多個操作系統。
此台虛擬機器包含:
Oracle Linux 8.8
Oracle Database 23ai Free
Oracle REST Data Services 24.2.3
Oracle SQLcl 24.2.0
Oracle APEX 24.1
安裝硬體要求:
At least 4GB RAM
At least 20GB of free space
安裝 Oracle VM
下載並安裝 Oracle VM VirtualBox Base Packages - 7.0.20 - Windows Installer 。
下載 ova 檔案
下載 ova 檔案 Oracle_Database_23ai_Free_Developer.ova 。這個檔案是一個虛擬機映像檔,包含已經配置好的環境。
建立虛擬機
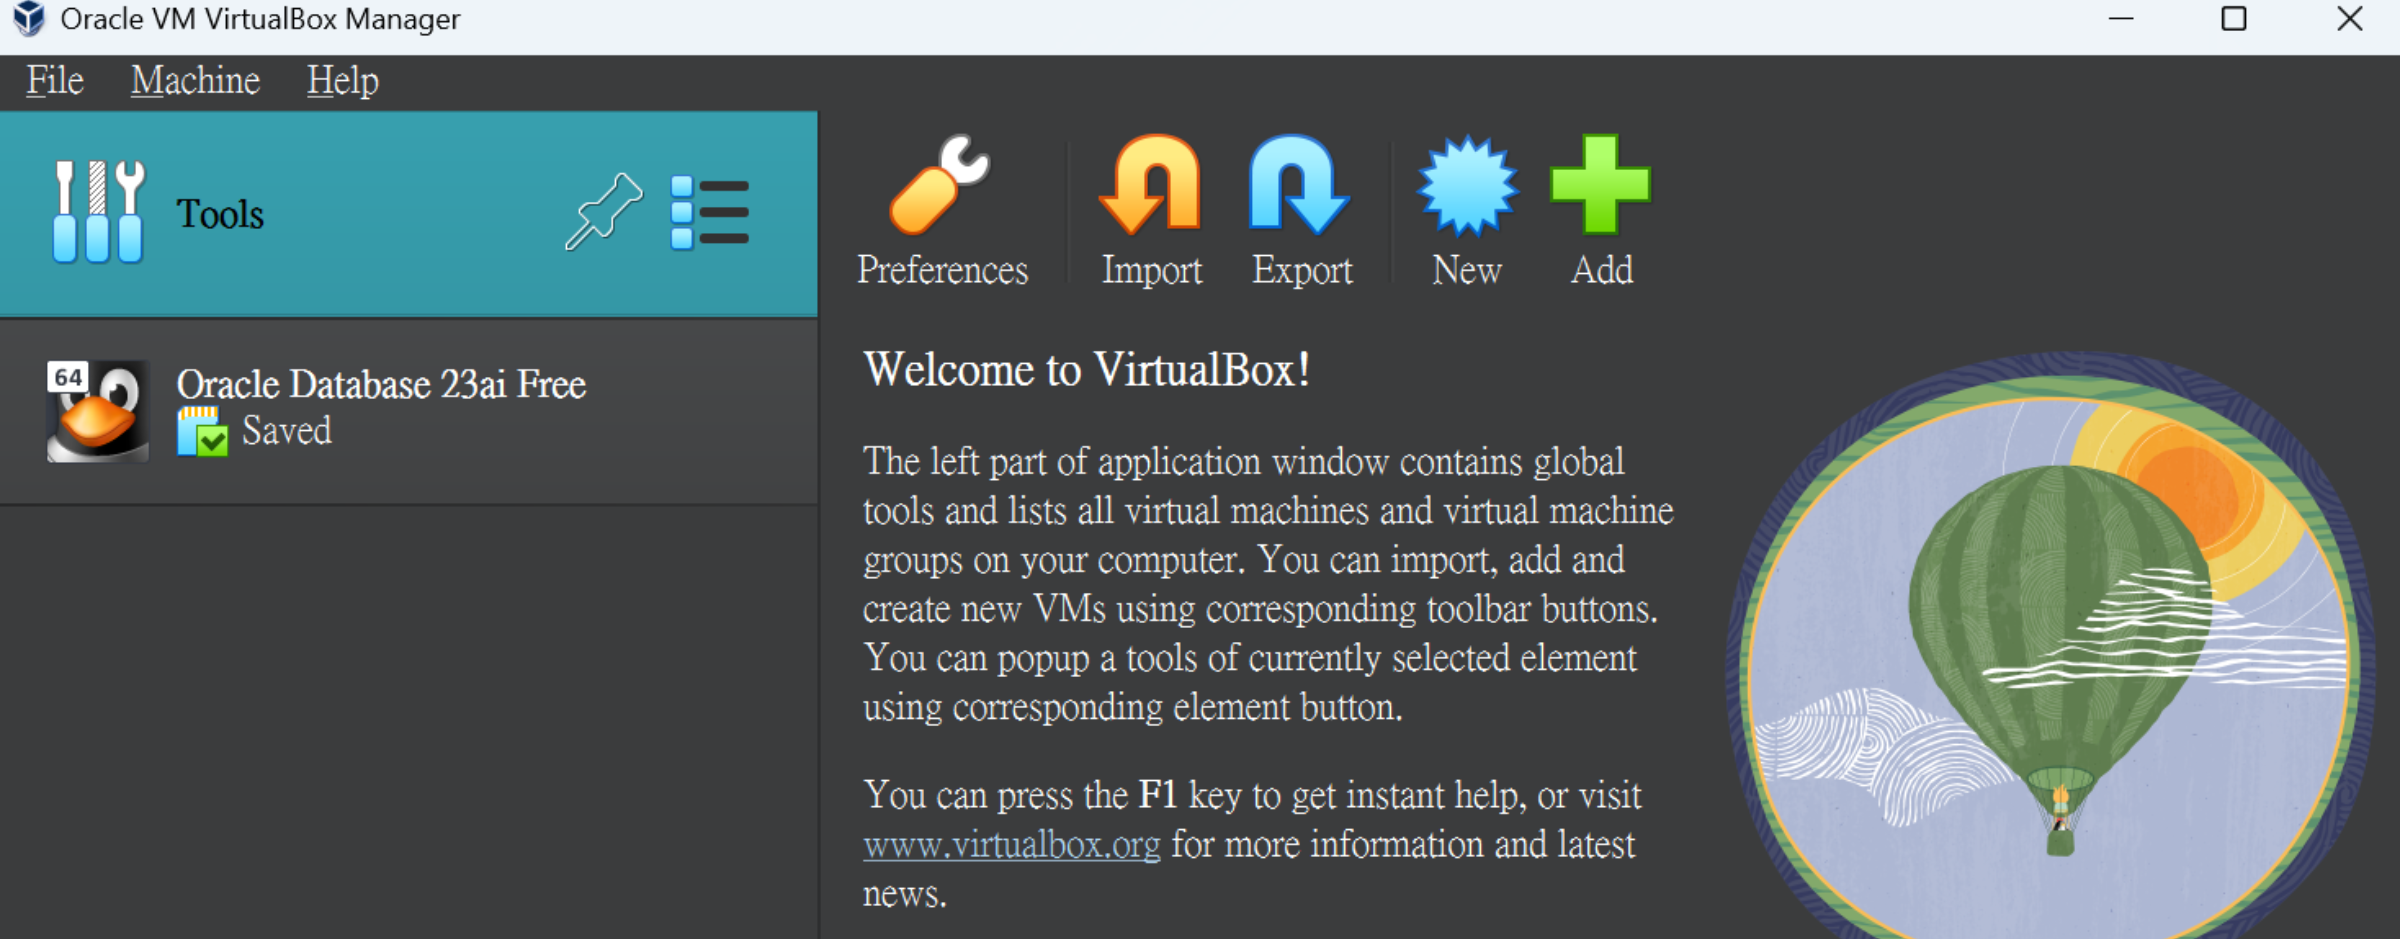
開啟 Oracle VM VirtualBox,點擊左側功能列中的「Tools」,點擊「Import」。
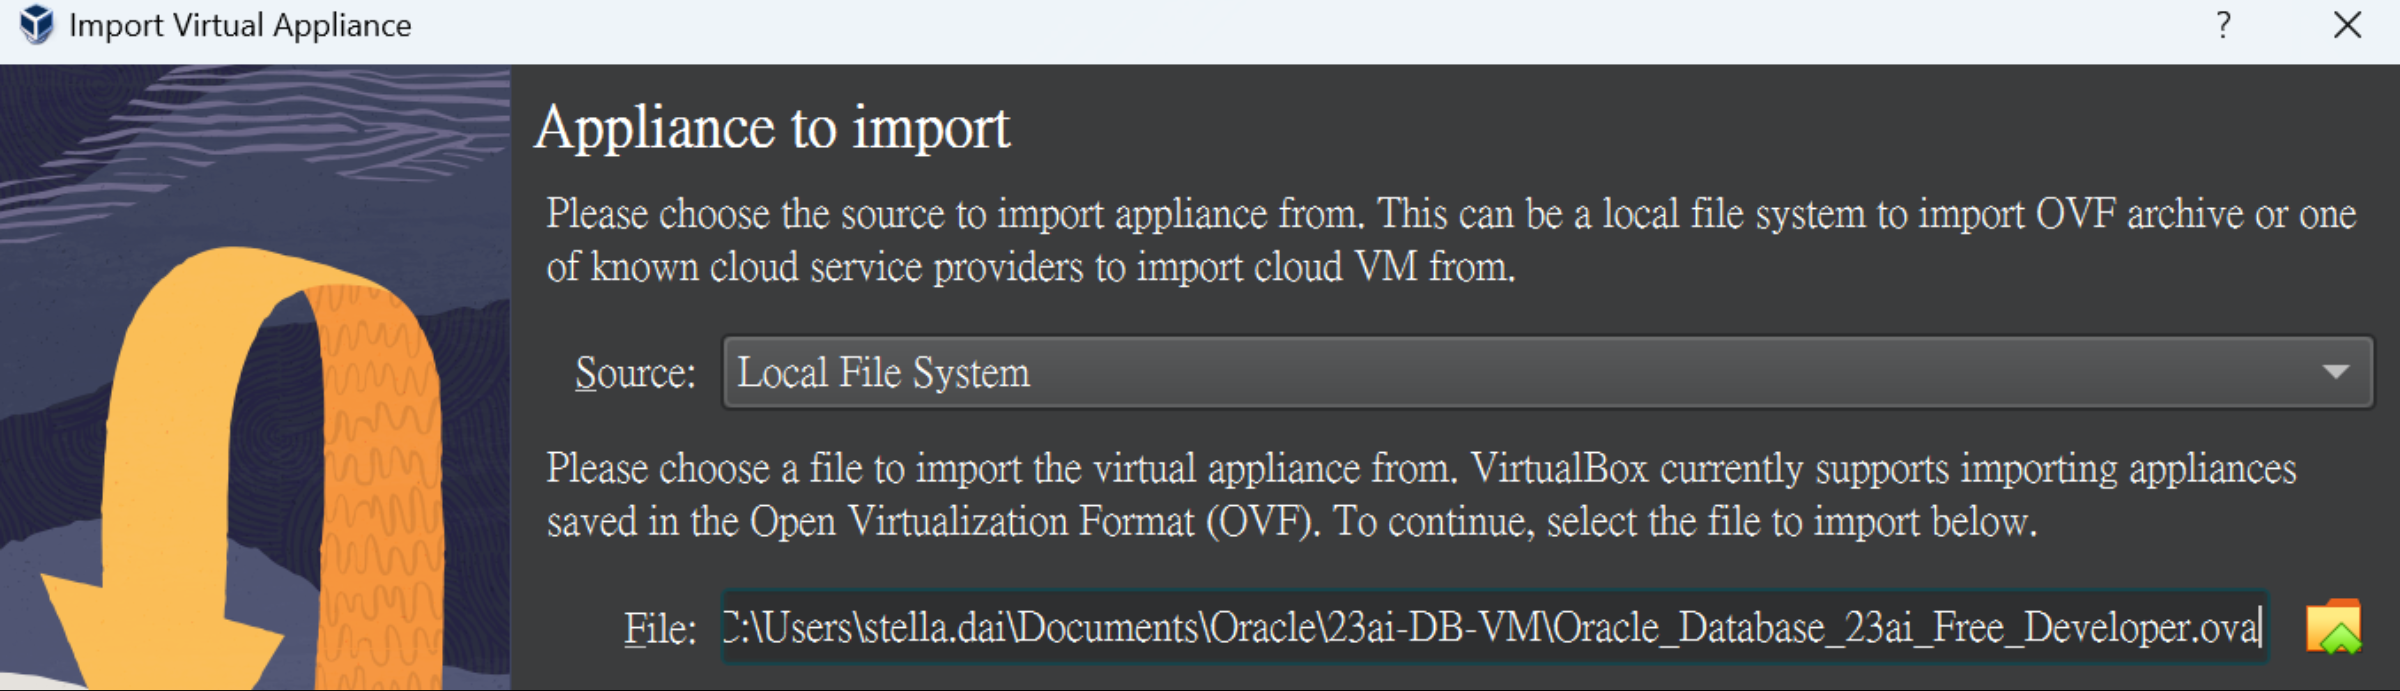
選擇剛才下載的 Oracle_Database_23ai_Free_Developer.ova,並開始匯入。
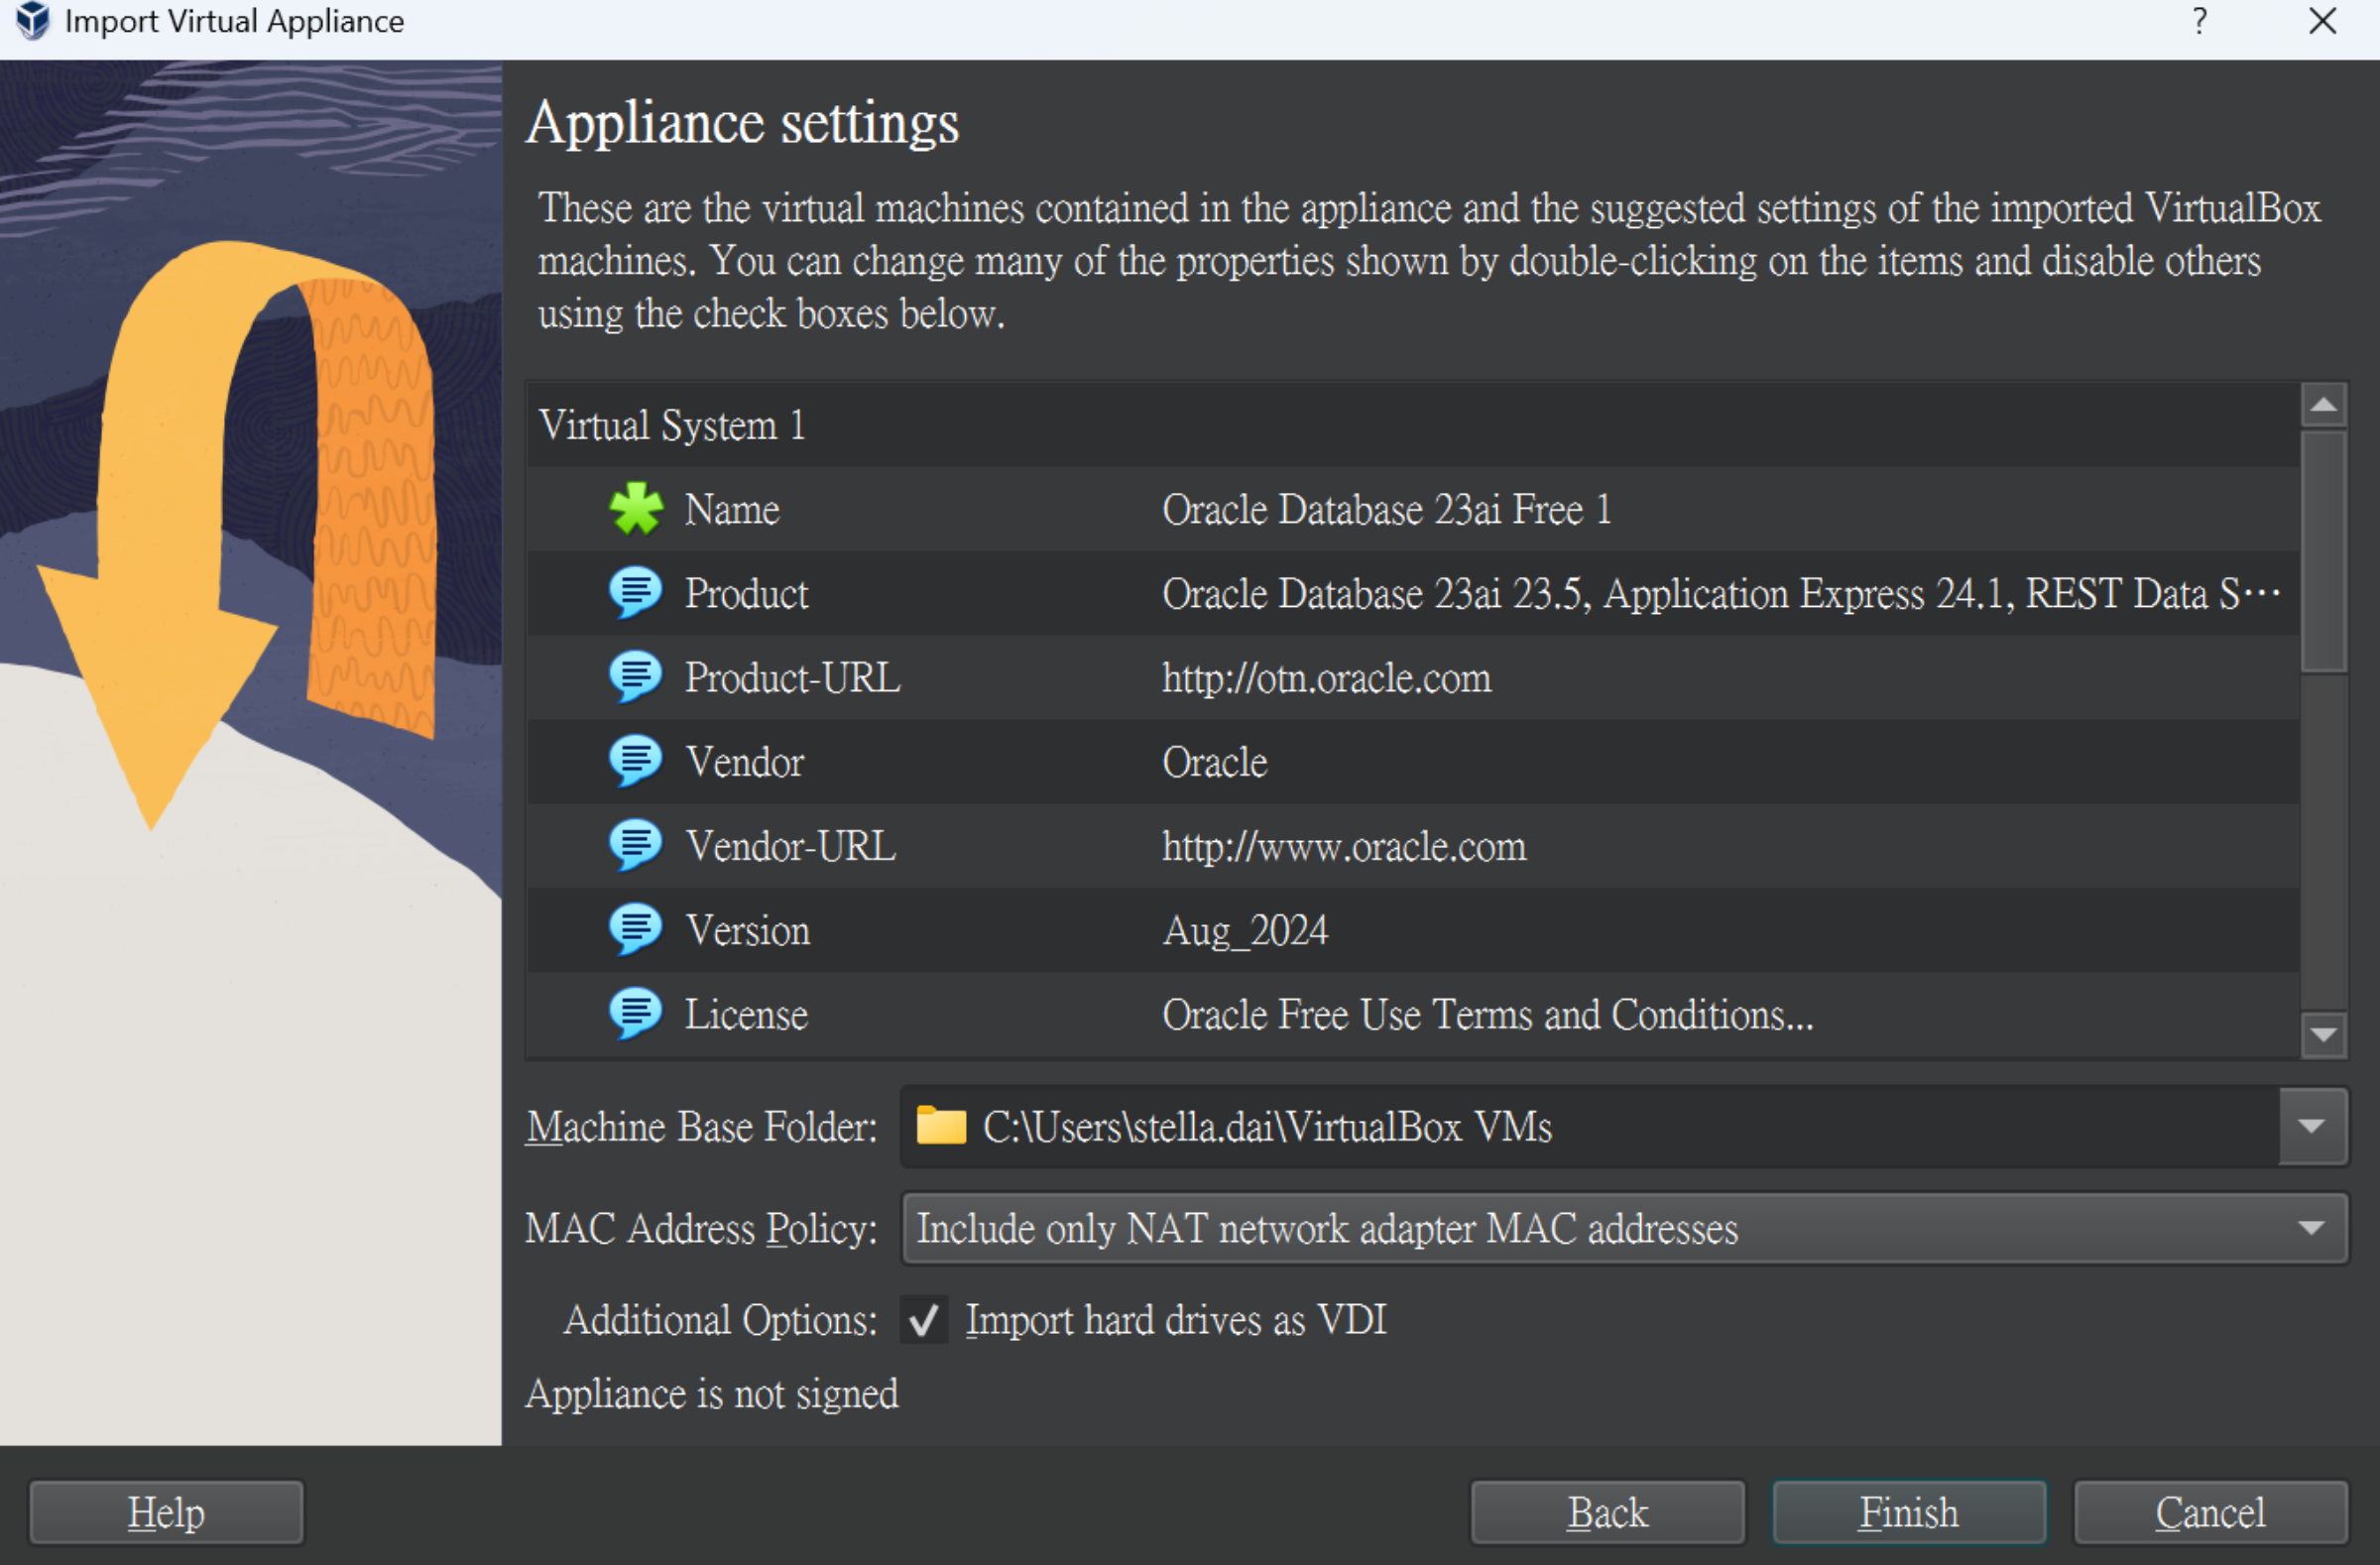
保持預設的設定內容即可。
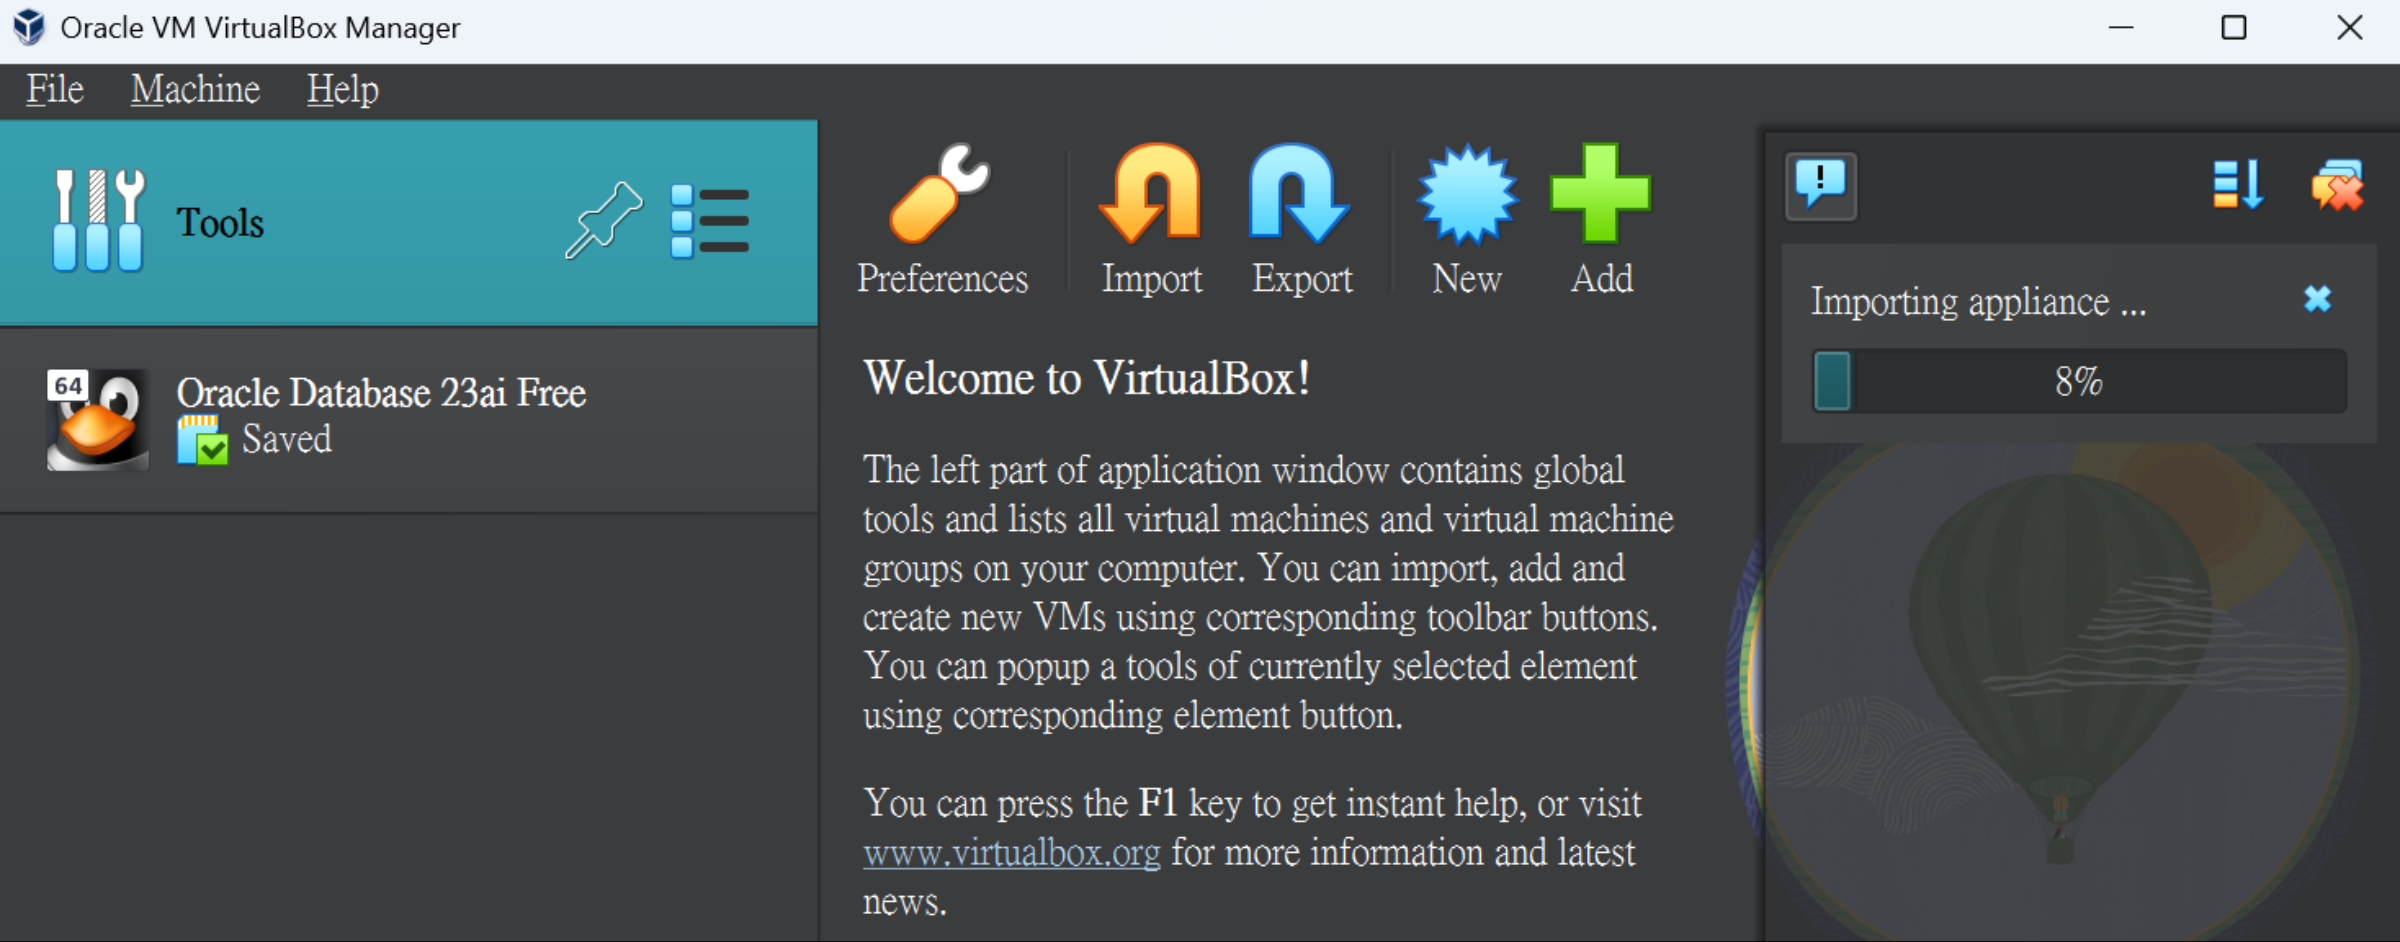
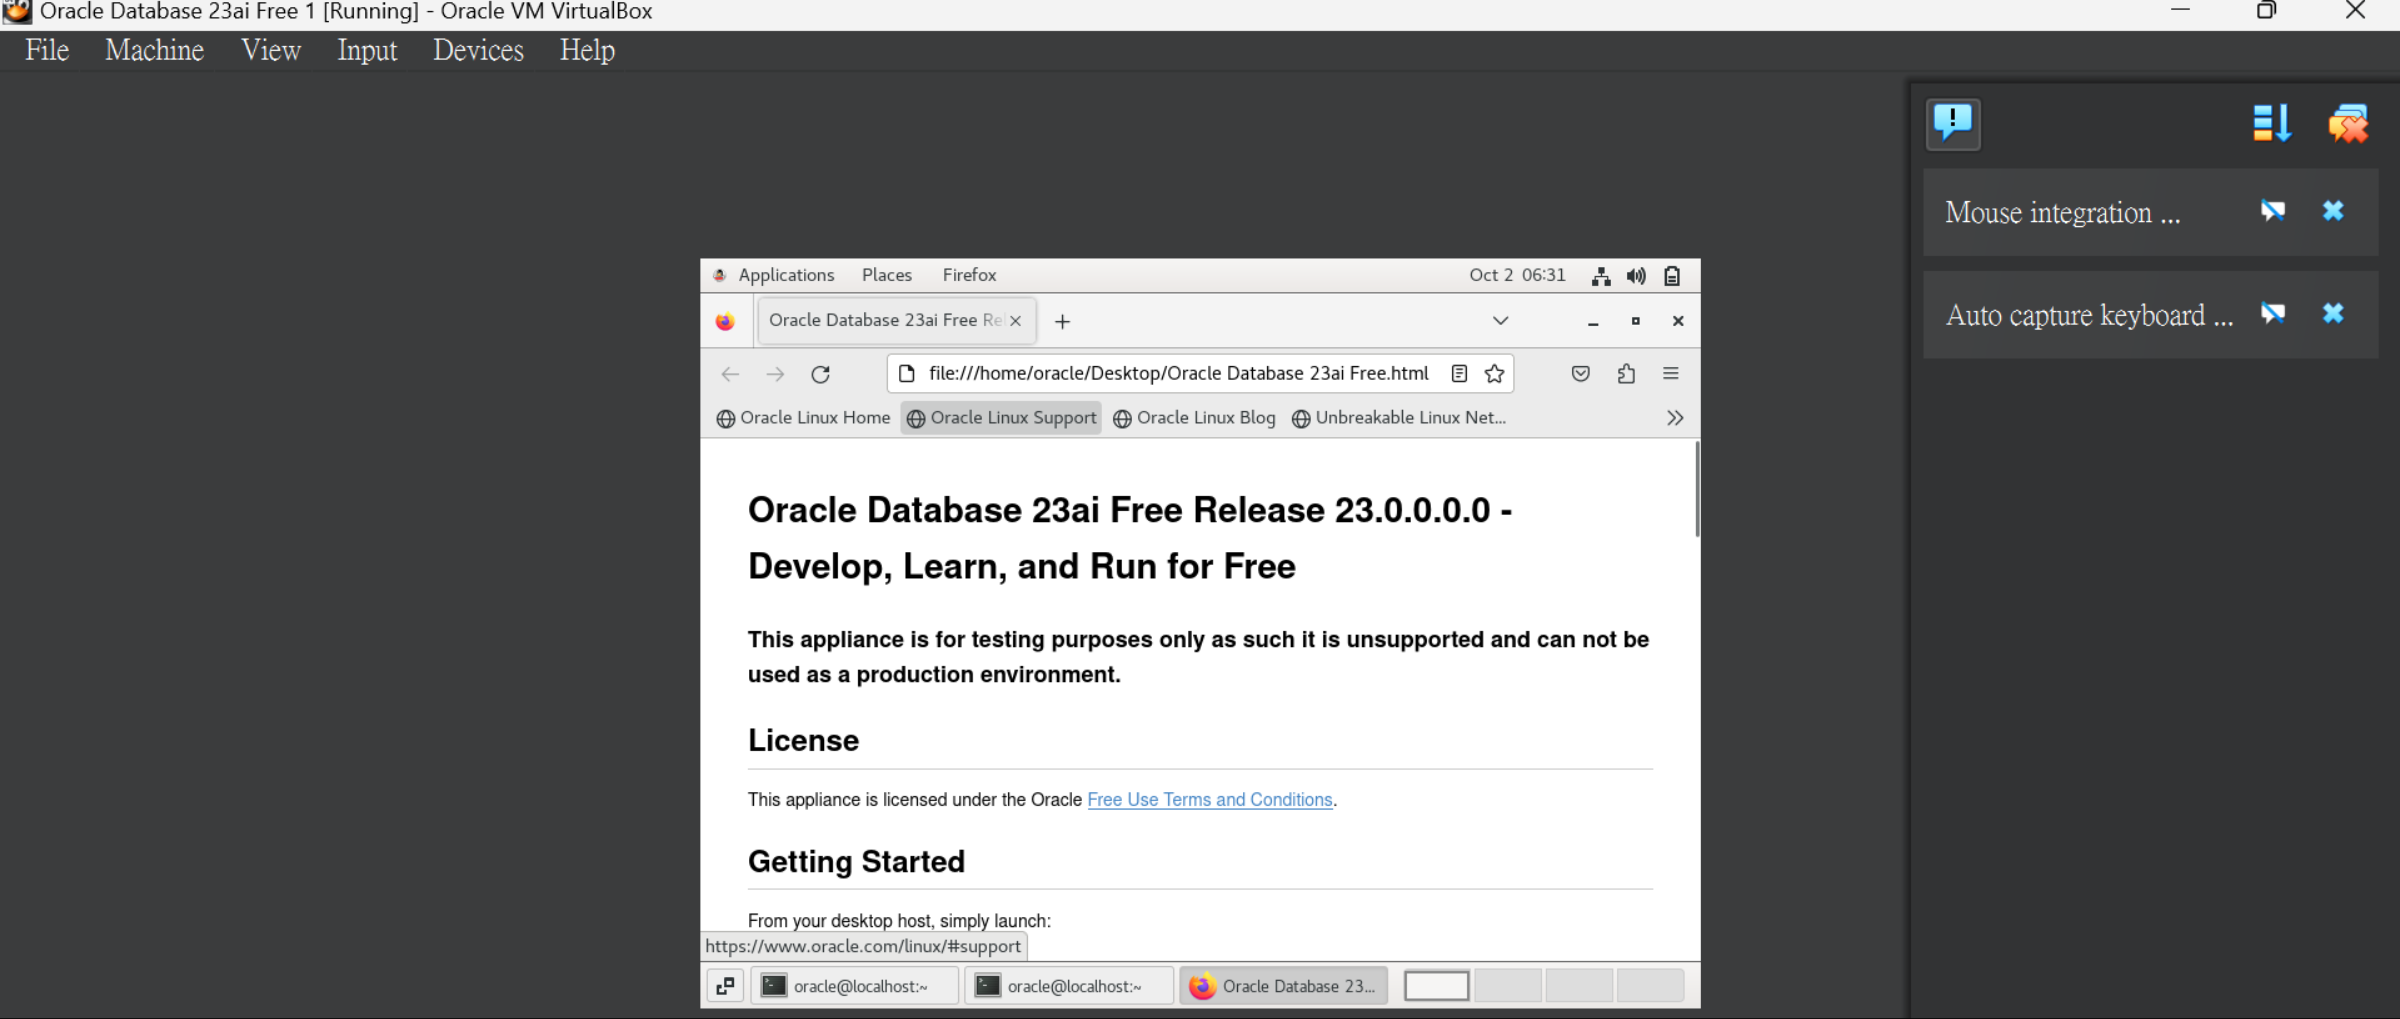
匯入過程約需 5 分鐘。當虛擬機顯示在左側列表時,就可以啟動它了。
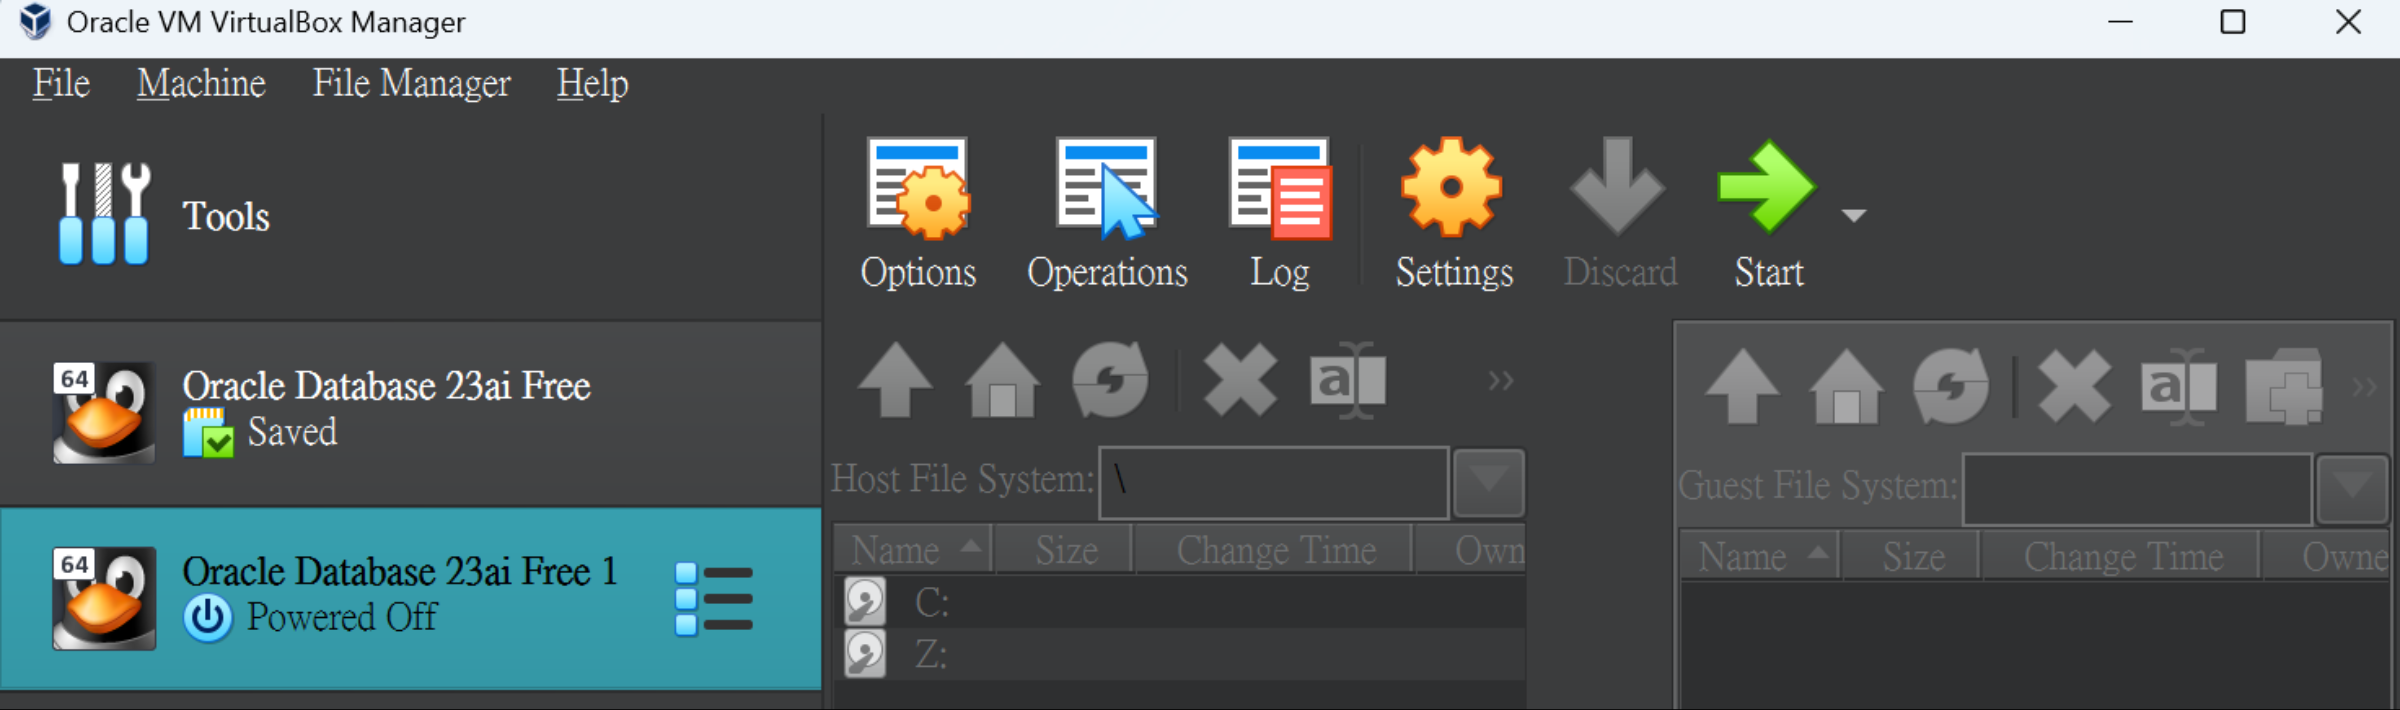
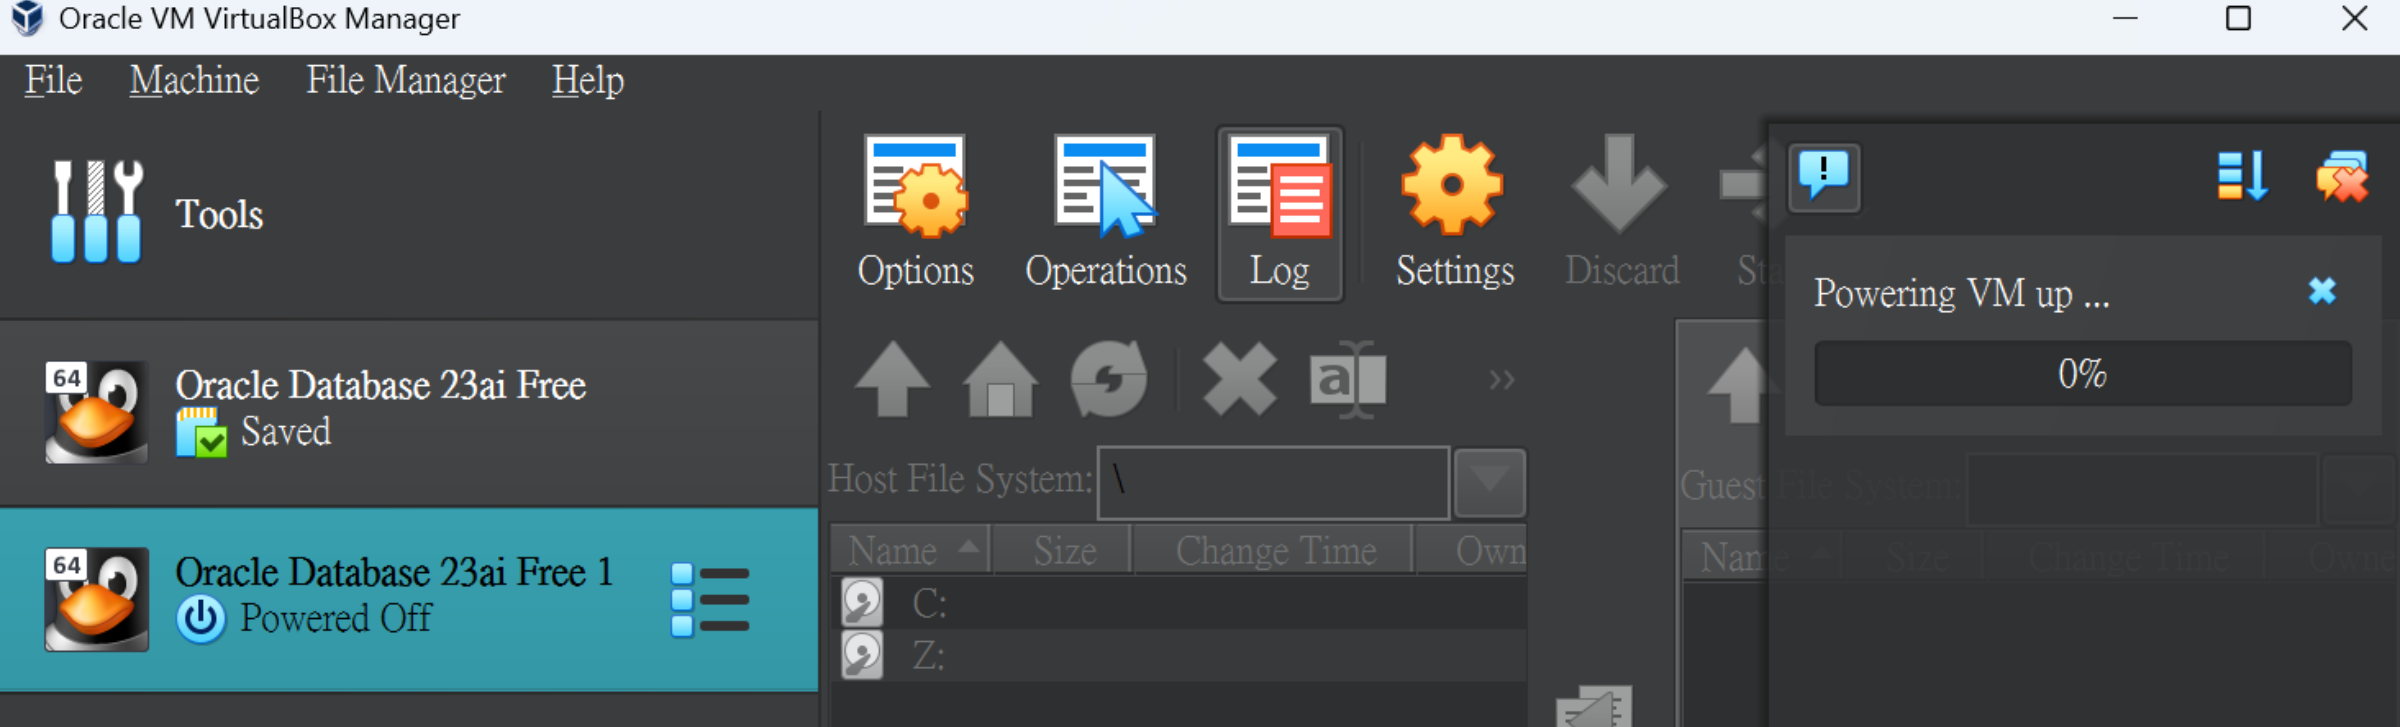
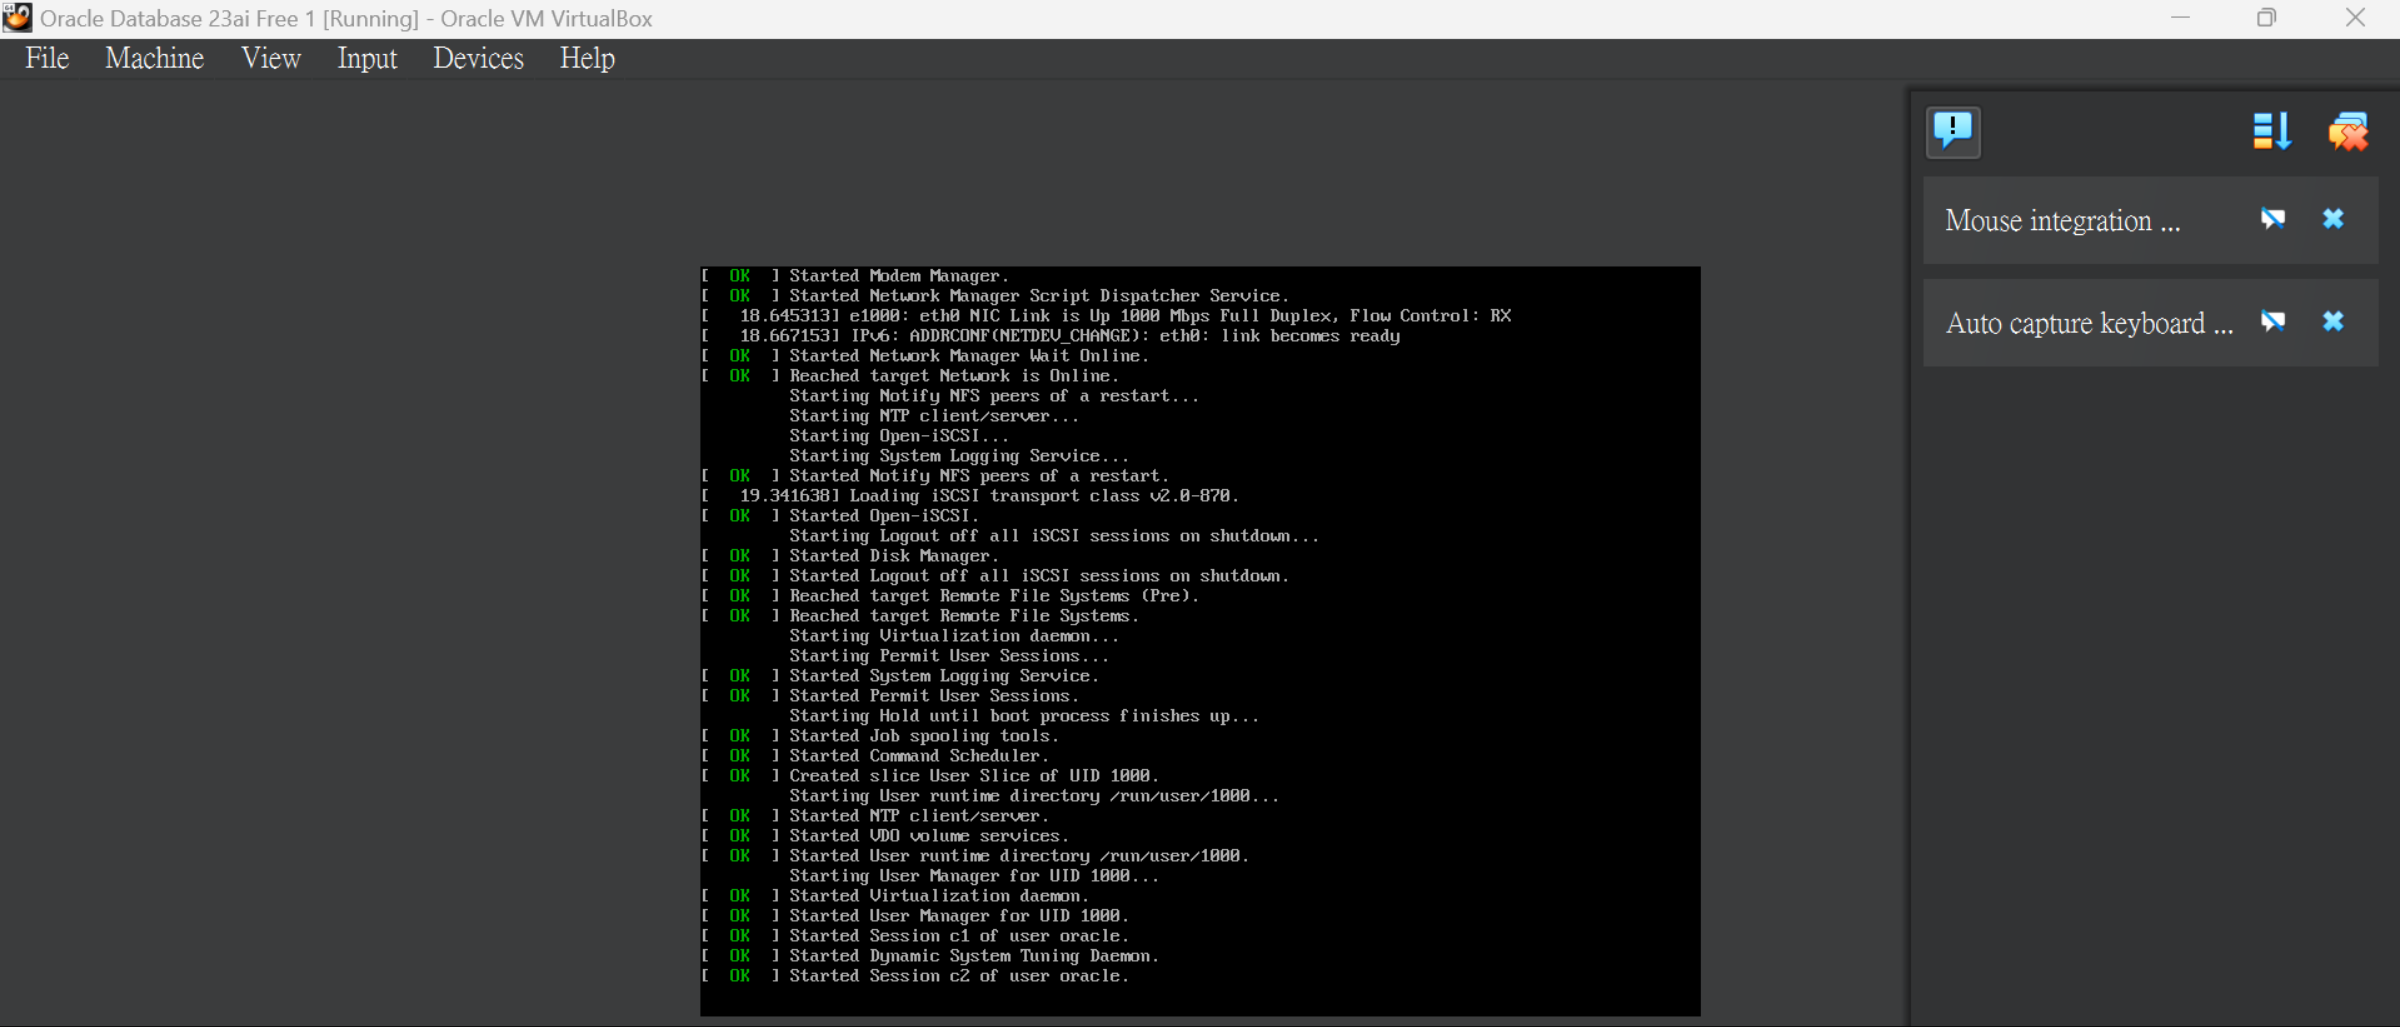
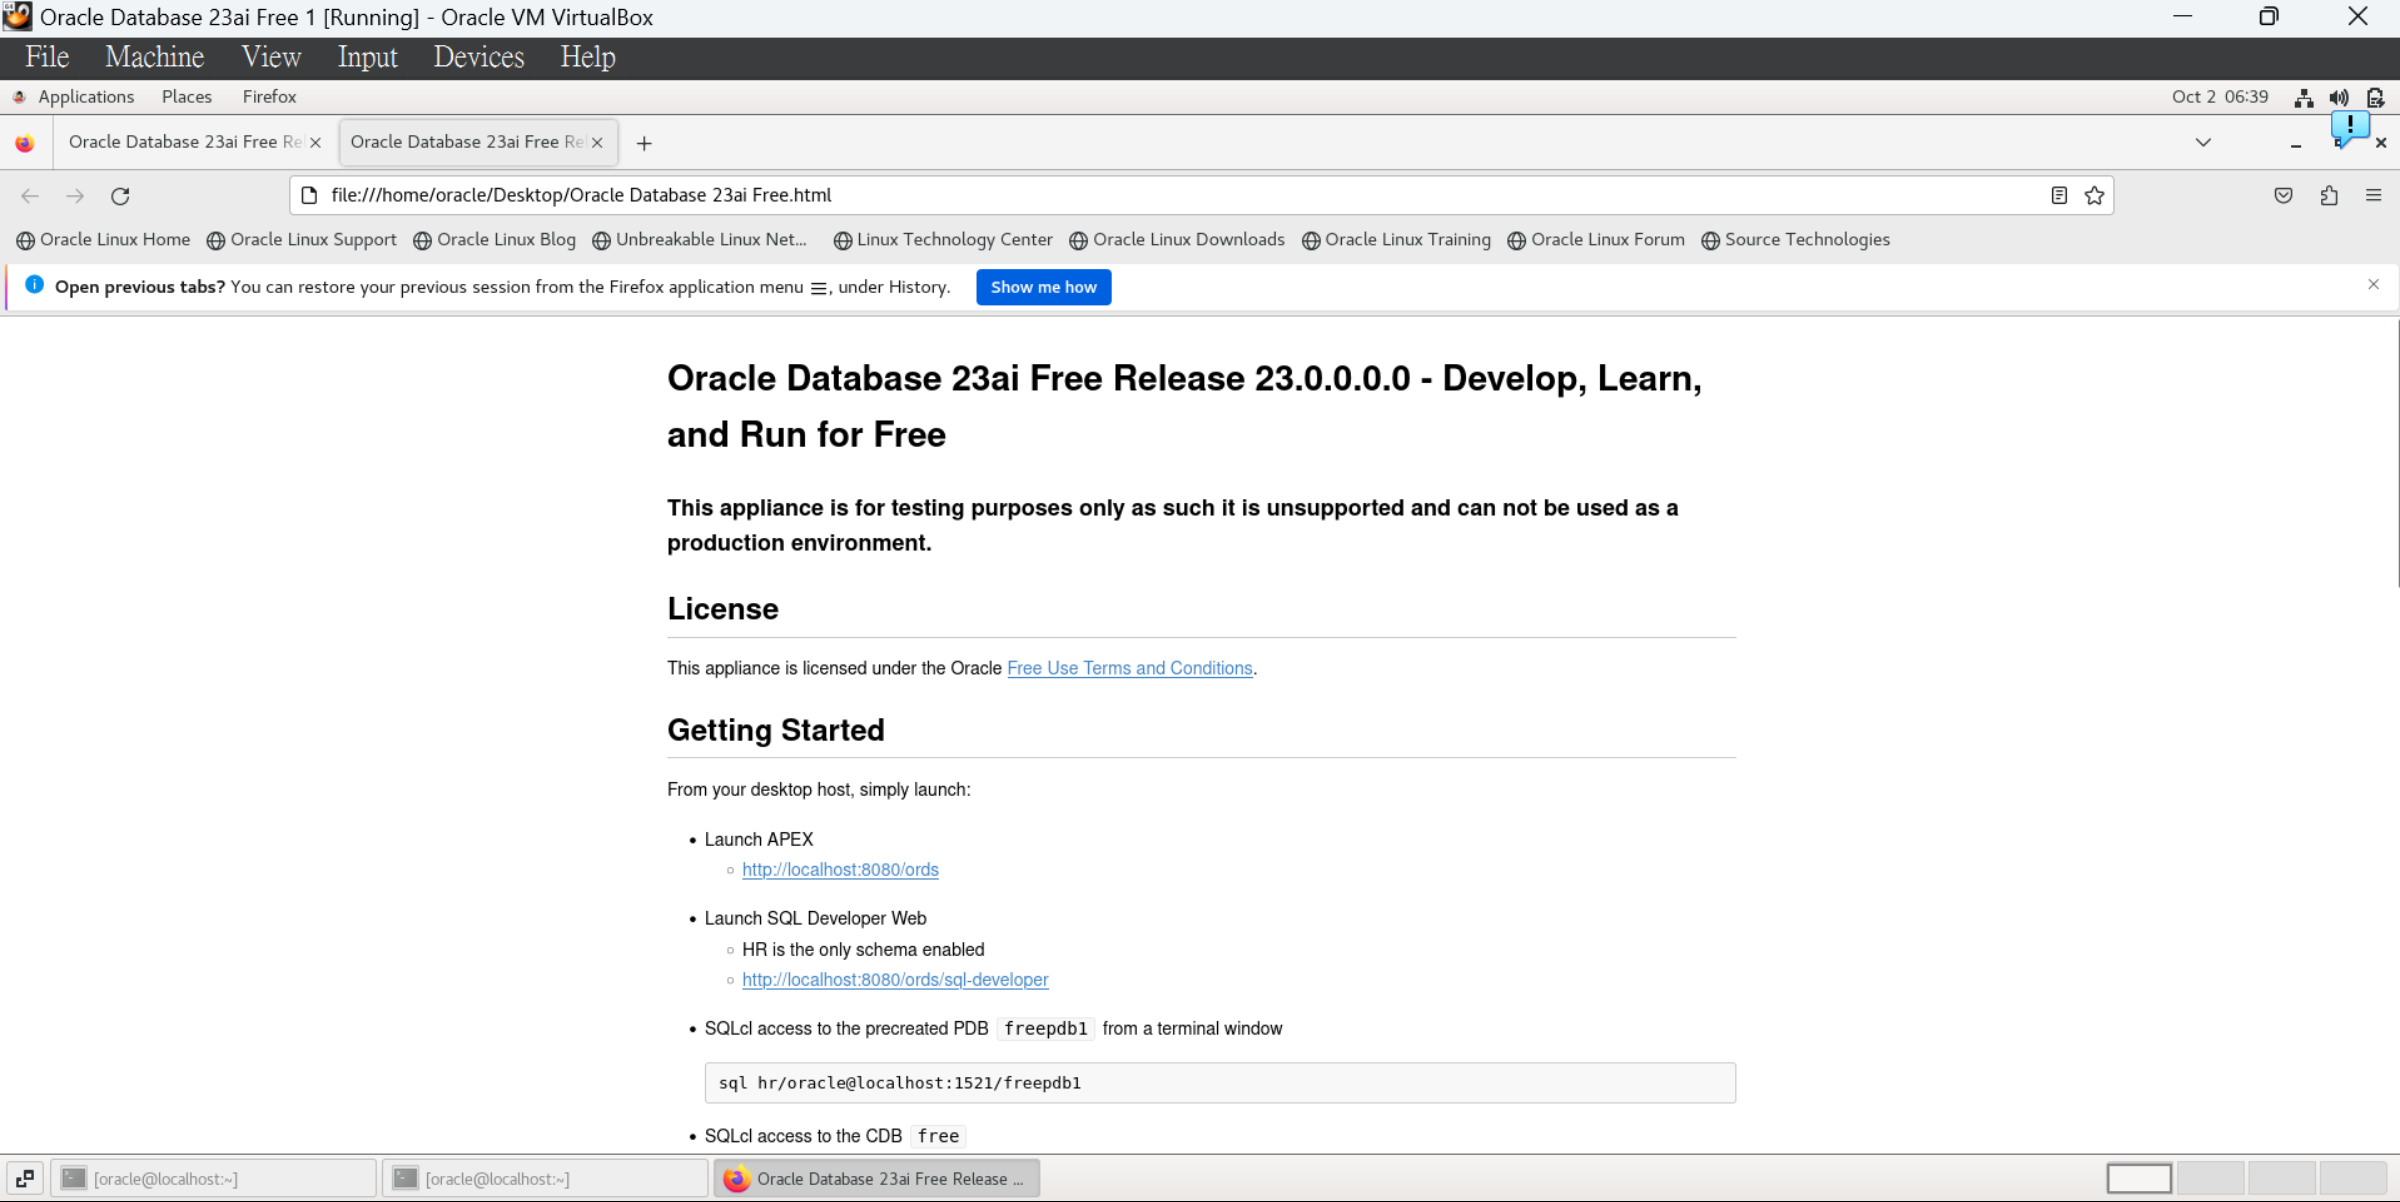
開啟虛擬機
點擊該虛擬機,點擊「Start」,大約需要 2 分鐘啟動。
查看作業系統
當虛擬機啟動後,可以通過以下命令檢查作業系統版本。
1 [oracle@localhost ~]$ cat /etc/os-release
1
2
3
4
5
6
7
8
9
10
11
12
13
14
15
16
17
18
NAME ="Oracle Linux Server" VERSION ="8.10" ID ="ol" ID_LIKE ="fedora" VARIANT ="Server" VARIANT_ID ="server" VERSION_ID ="8.10" PLATFORM_ID ="platform:el8" PRETTY_NAME ="Oracle Linux Server 8.10" ANSI_COLOR ="0;31" CPE_NAME ="cpe:/o:oracle:linux:8:10:server" HOME_URL ="https://linux.oracle.com/" BUG_REPORT_URL ="https://github.com/oracle/oracle-linux" ORACLE_BUGZILLA_PRODUCT ="Oracle Linux 8" ORACLE_BUGZILLA_PRODUCT_VERSION =8.10 ORACLE_SUPPORT_PRODUCT ="Oracle Linux" ORACLE_SUPPORT_PRODUCT_VERSION =8.10
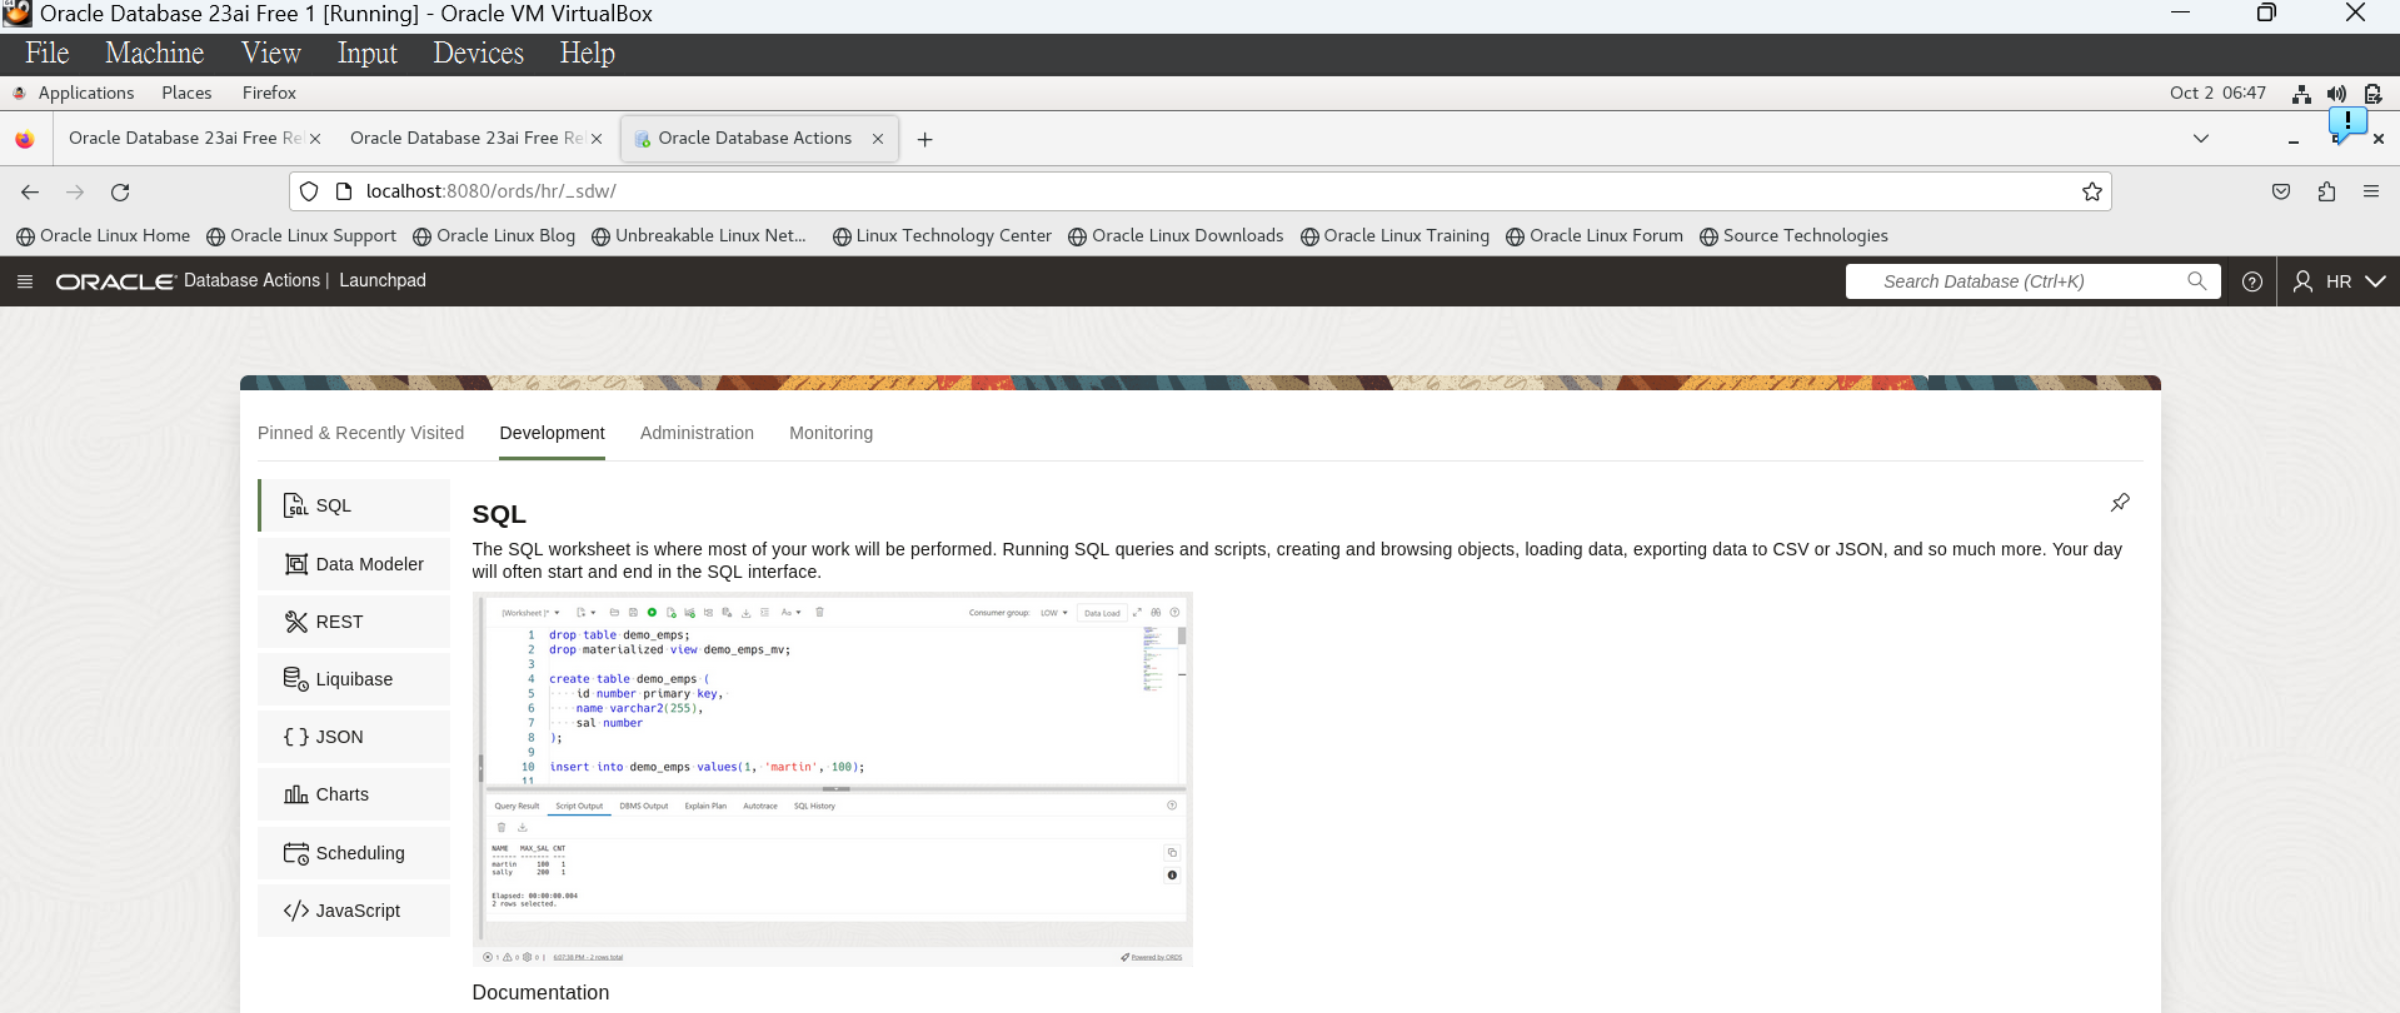
連接資料庫
進入 SQL Developer Web (http://localhost:8080/ords/sql-developer )。
使用以下帳號和密碼登錄:
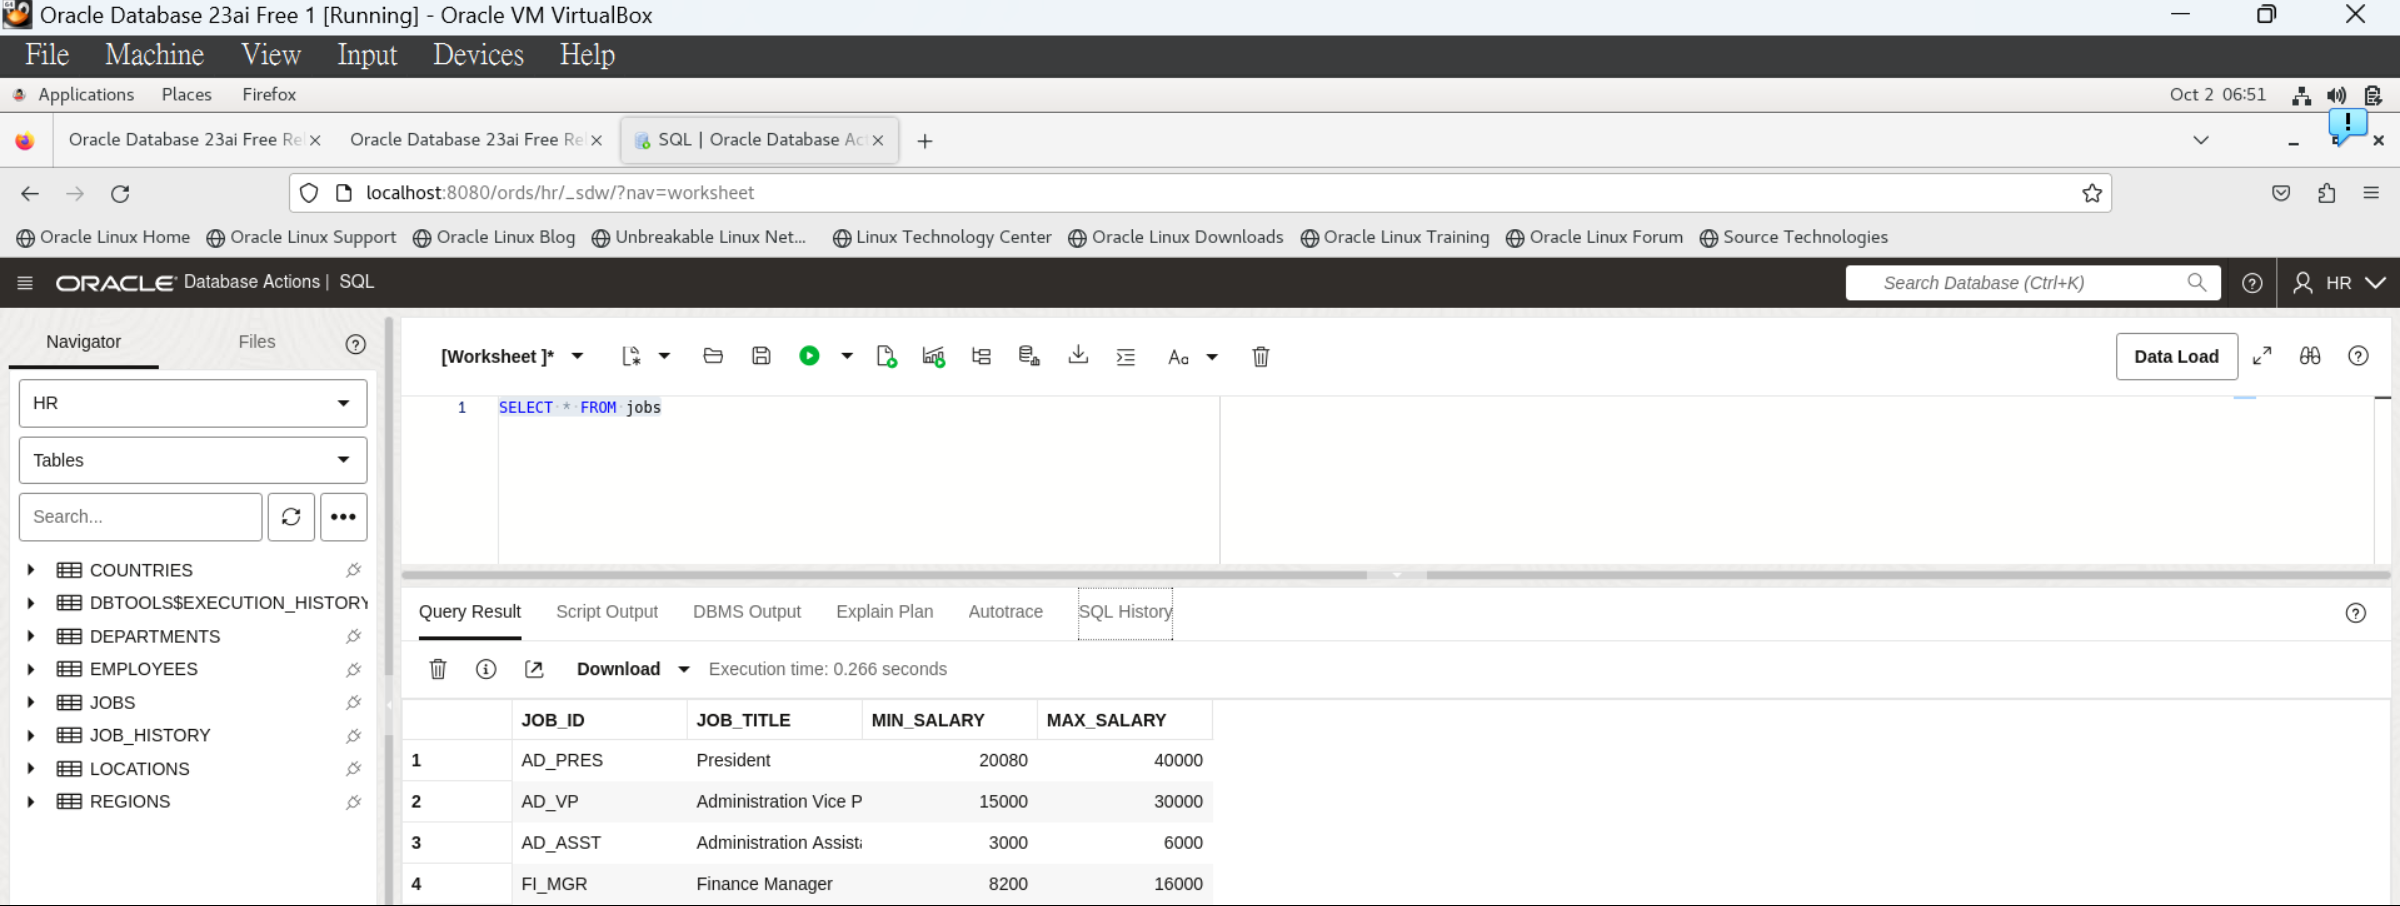
查看表格
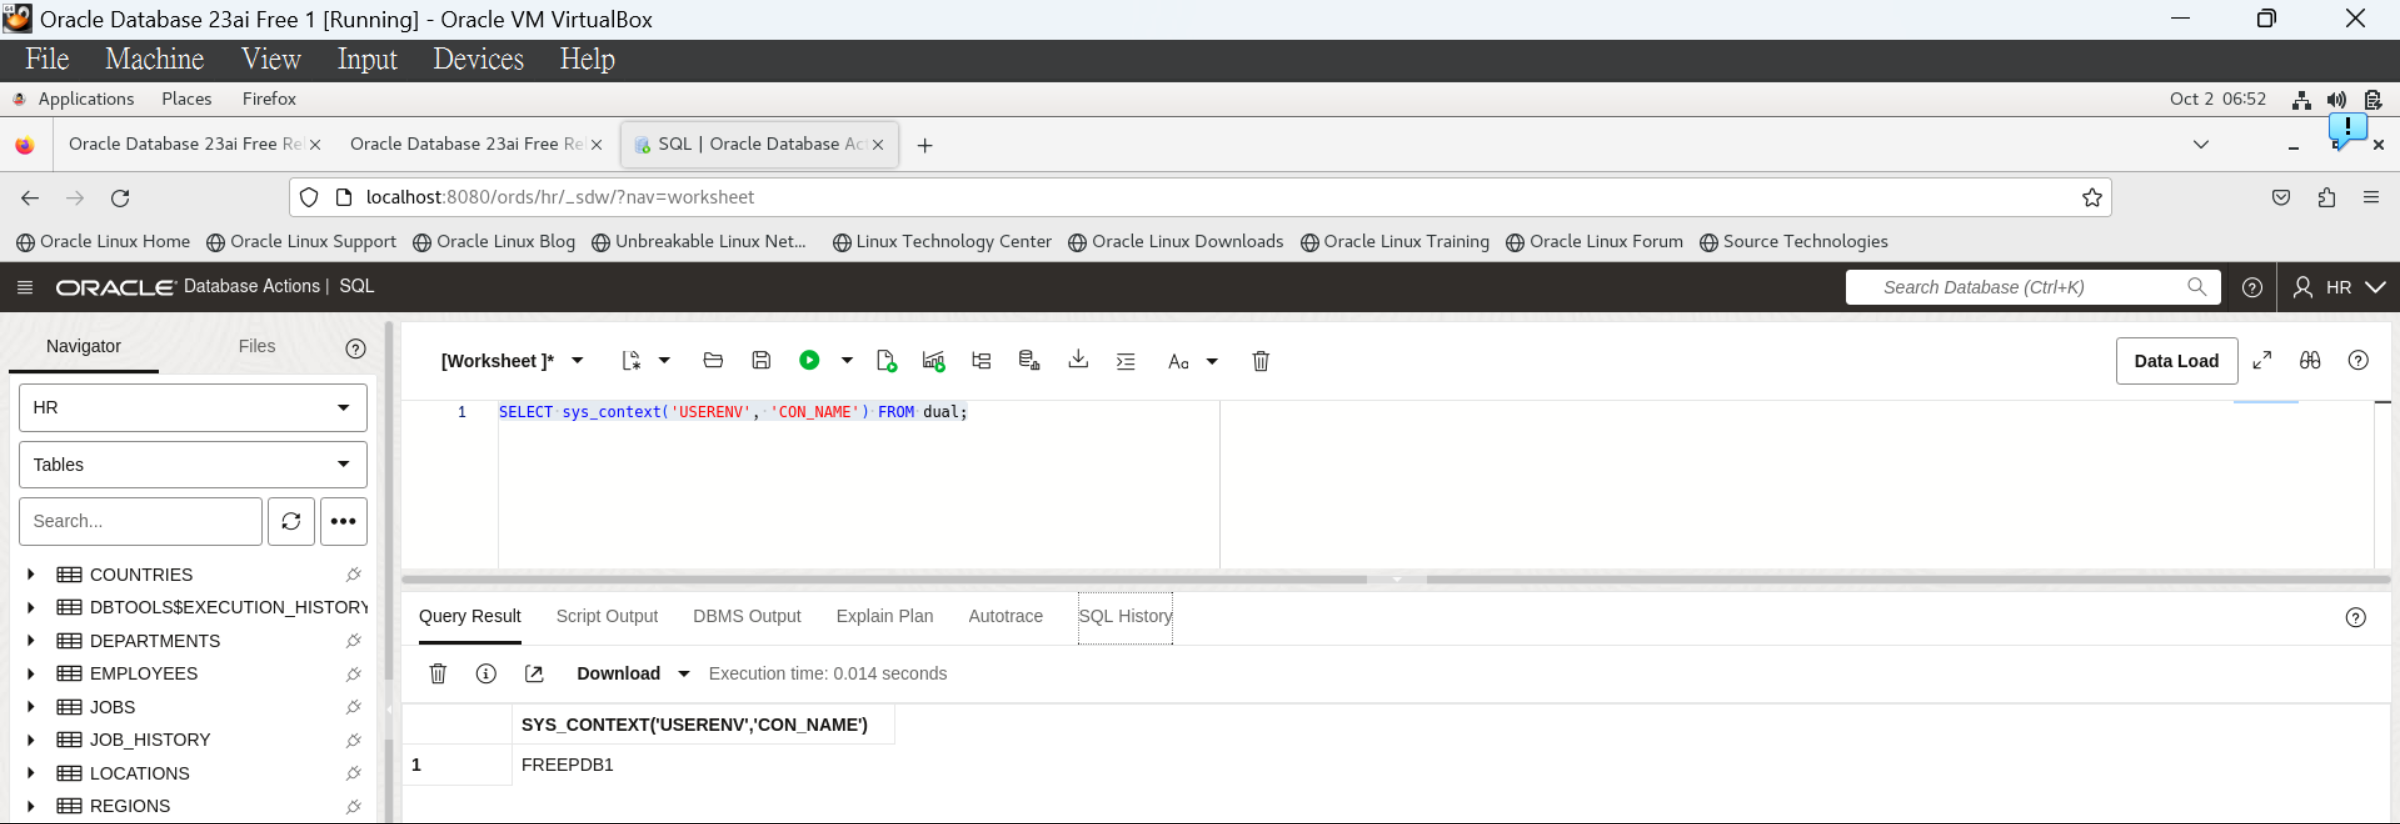
查看資料庫名稱
1 SELECT sys_context('USERENV' , 'CON_NAME' ) FROM dual;
安裝 Python
系統預裝了 Python 3.6.8,使用以下命令查看版本。
1 2 [oracle@localhost ~]$ python3 -V Python 3.6 .8
解決連線問題
我在安裝新版本 Python 時,遇到了連線 Timeout 問題。
1
2
3
4
5
6
7
8
[oracle@localhost ~]$ sudo dnf install python3.12 [sudo ] password for oracle: Oracle Linux 8 BaseOS Latest (x86_64) 0.0 B/s | 0 B 08:00 Errors during downloading metadata for repository 'ol8_baseos_latest' : - Curl error (28): Timeout was reached for https://yum-us-phoenix-1.oracle.com/repo/OracleLinux/OL8/baseos/latest/x86_64/repodata/repomd.xml [Connection timed out after 120033 milliseconds] - Curl error (28): Timeout was reached for https://yum-us-phoenix-1.oracle.com/repo/OracleLinux/OL8/baseos/latest/x86_64/repodata/repomd.xml [Connection timed out after 120000 milliseconds] - Curl error (28): Timeout was reached for https://yum-us-phoenix-1.oracle.com/repo/OracleLinux/OL8/baseos/latest/x86_64/repodata/repomd.xml [Connection timed out after 120035 milliseconds] Error: Failed to download metadata for repo 'ol8_baseos_latest' : Cannot download repomd.xml: Cannot download repodata/repomd.xml: All mirrors were tried
需要修改 Oracle Linux 8 的 yum repository 配置文件 ,以便能從正確的來源下載和安裝軟體更新。
oracle-linux-ol8
備份系統中原本的軟體配置文件。將 /etc/yum.repos.d/oracle-linux-ol8.repo 文件複製為 oracle-linux-ol8.repo.bak,這樣如果後續操作出現問題,可以使用備份文件恢復。
1 2 sudo cp /etc/yum.repos.d/oracle-linux-ol8.repo /etc/yum.repos.d/oracle-linux-ol8.repo.bak
1 2 sudo nano /etc/yum.repos.d/oracle-linux-ol8.repo
找到所有baseurl開頭是yumxxxxx.com改成yum.oracle.com。應該是有18個吧,請小心用上下鍵移動,先刪除再用右鍵貼上(考驗工程師眼力及耐心時間到了) 。
1 2 3 4 baseurl=https://yum -us-phoenix-1 .oracle.com/repo/ OracleLinux/OL8/ baseos/latest/ $basearch / baseurl=https://yum .oracle.com/repo/ OracleLinux/OL8/ baseos/latest/ $basearch /
儲存退出
在 Nano 中用以下指令儲存並退出。
按 Ctrl + O 儲存檔案。
按 Enter 確認檔案名稱。
按 Ctrl + X 退出編輯器。
uek-ol8.repo
找到所有baseurl開頭是yumxxxxx.com改成yum.oracle.com。
1
2
sudo cp /etc/yum.repos.d/uek-ol8.repo /etc/yum.repos.d/uek-ol8.repo.baksudo nano /etc/yum.repos.d/uek-ol8.repo
更新快取
1 2 3 4 [oracle@localhost ~]$ sudo dnf clean all sudo dnf makecache
1
2
3
4
5
6
7
8
9
[oracle@localhost ~]$ sudo dnf clean all 24 files removed [oracle@localhost ~]$ sudo dnf makecache Oracle Linux 8 BaseOS Latest (x86_64) 11 MB/s | 81 MB 00:07 Oracle Linux 8 Application Stream (x86_64) 9.9 MB/s | 63 MB 00:06 Latest Unbreakable Enterprise Kernel Release 7 for Oracle Linux 8 (x86_64) 9.0 MB/s | 43 MB 00:04 Last metadata expiration check: 0:00:10 ago on Wed 02 Oct 2024 09:00:55 AM UTC. Metadata cache created.
安裝 Python 3.12
連線問題解決後就可以安裝各種軟體啦!
1 sudo dnf install python3.12
1
2
3
4
5
6
7
8
9
10
11
12
13
14
15
16
17
18
19
20
21
22
23
24
25
26
27
28
29
30
31
32
33
34
35
36
37
38
39
40
41
42
43
44
45
46
47
48
[oracle@localhost ~]$ sudo dnf install python3.12 Last metadata expiration check: 0:01:06 ago on Wed 02 Oct 2024 09:00:55 AM UTC. Dependencies resolved. ========================================================================================================================================================================= Package Architecture Version Repository Size ========================================================================================================================================================================= Installing: python3.12 x86_64 3.12.5-2 .el8_10 ol8_appstream 29 k Installing dependencies: mpdecimal x86_64 2.5.1-3 .el8 ol8_appstream 93 k python3.12-libs x86_64 3.12.5-2 .el8_10 ol8_appstream 10 M python3.12-pip-wheel noarch 23.2.1-4 .el8 ol8_appstream 1.5 M Transaction Summary ========================================================================================================================================================================= Install 4 Packages Total download size: 12 M Installed size: 44 M Is this ok [y/N]: y Downloading Packages: (1/4): python3.12-3 .12.5-2 .el8_10.x86_64.rpm 126 kB/s | 29 kB 00:00 (2/4): mpdecimal-2 .5.1-3 .el8.x86_64.rpm 347 kB/s | 93 kB 00:00 (3/4): python3.12-libs-3 .12.5-2 .el8_10.x86_64.rpm 7.2 MB/s | 10 MB 00:01 (4/4): python3.12-pip-wheel-23 .2.1-4 .el8.noarch.rpm 313 kB/s | 1.5 MB 00:04 ------------------------------------------------------------------------------------------------------------------------------------------------------------------------- Total 2.3 MB/s | 12 MB 00:05 Running transaction check Transaction check succeeded. Running transaction test Transaction test succeeded. Running transaction Preparing : 1/1 Installing : python3.12-pip-wheel-23 .2.1-4 .el8.noarch 1/4 Installing : mpdecimal-2 .5.1-3 .el8.x86_64 2/4 Installing : python3.12-3 .12.5-2 .el8_10.x86_64 3/4 Running scriptlet: python3.12-3 .12.5-2 .el8_10.x86_64 3/4 Installing : python3.12-libs-3 .12.5-2 .el8_10.x86_64 4/4 Running scriptlet: python3.12-libs-3 .12.5-2 .el8_10.x86_64 4/4 Verifying : mpdecimal-2 .5.1-3 .el8.x86_64 1/4 Verifying : python3.12-3 .12.5-2 .el8_10.x86_64 2/4 Verifying : python3.12-libs-3 .12.5-2 .el8_10.x86_64 3/4 Verifying : python3.12-pip-wheel-23 .2.1-4 .el8.noarch 4/4 Installed: mpdecimal-2 .5.1-3 .el8.x86_64 python3.12-3 .12.5-2 .el8_10.x86_64 python3.12-libs-3 .12.5-2 .el8_10.x86_64 python3.12-pip-wheel-23 .2.1-4 .el8.noarch Complete!
將系統默認的 Python 3.6 版本改成 3.12。
1 sudo alternatives --set python3 /usr/bin/python3.12
1 2 3 [oracle@localhost ~]$ sudo alternatives --set python3 /usr/bin/python3.12 [oracle@localhost ~]$ python3 -V Python 3.12 .5
安裝 VS Code
從 Visual Studio Code 官方網站下載並安裝最新的 RPM 安裝包。
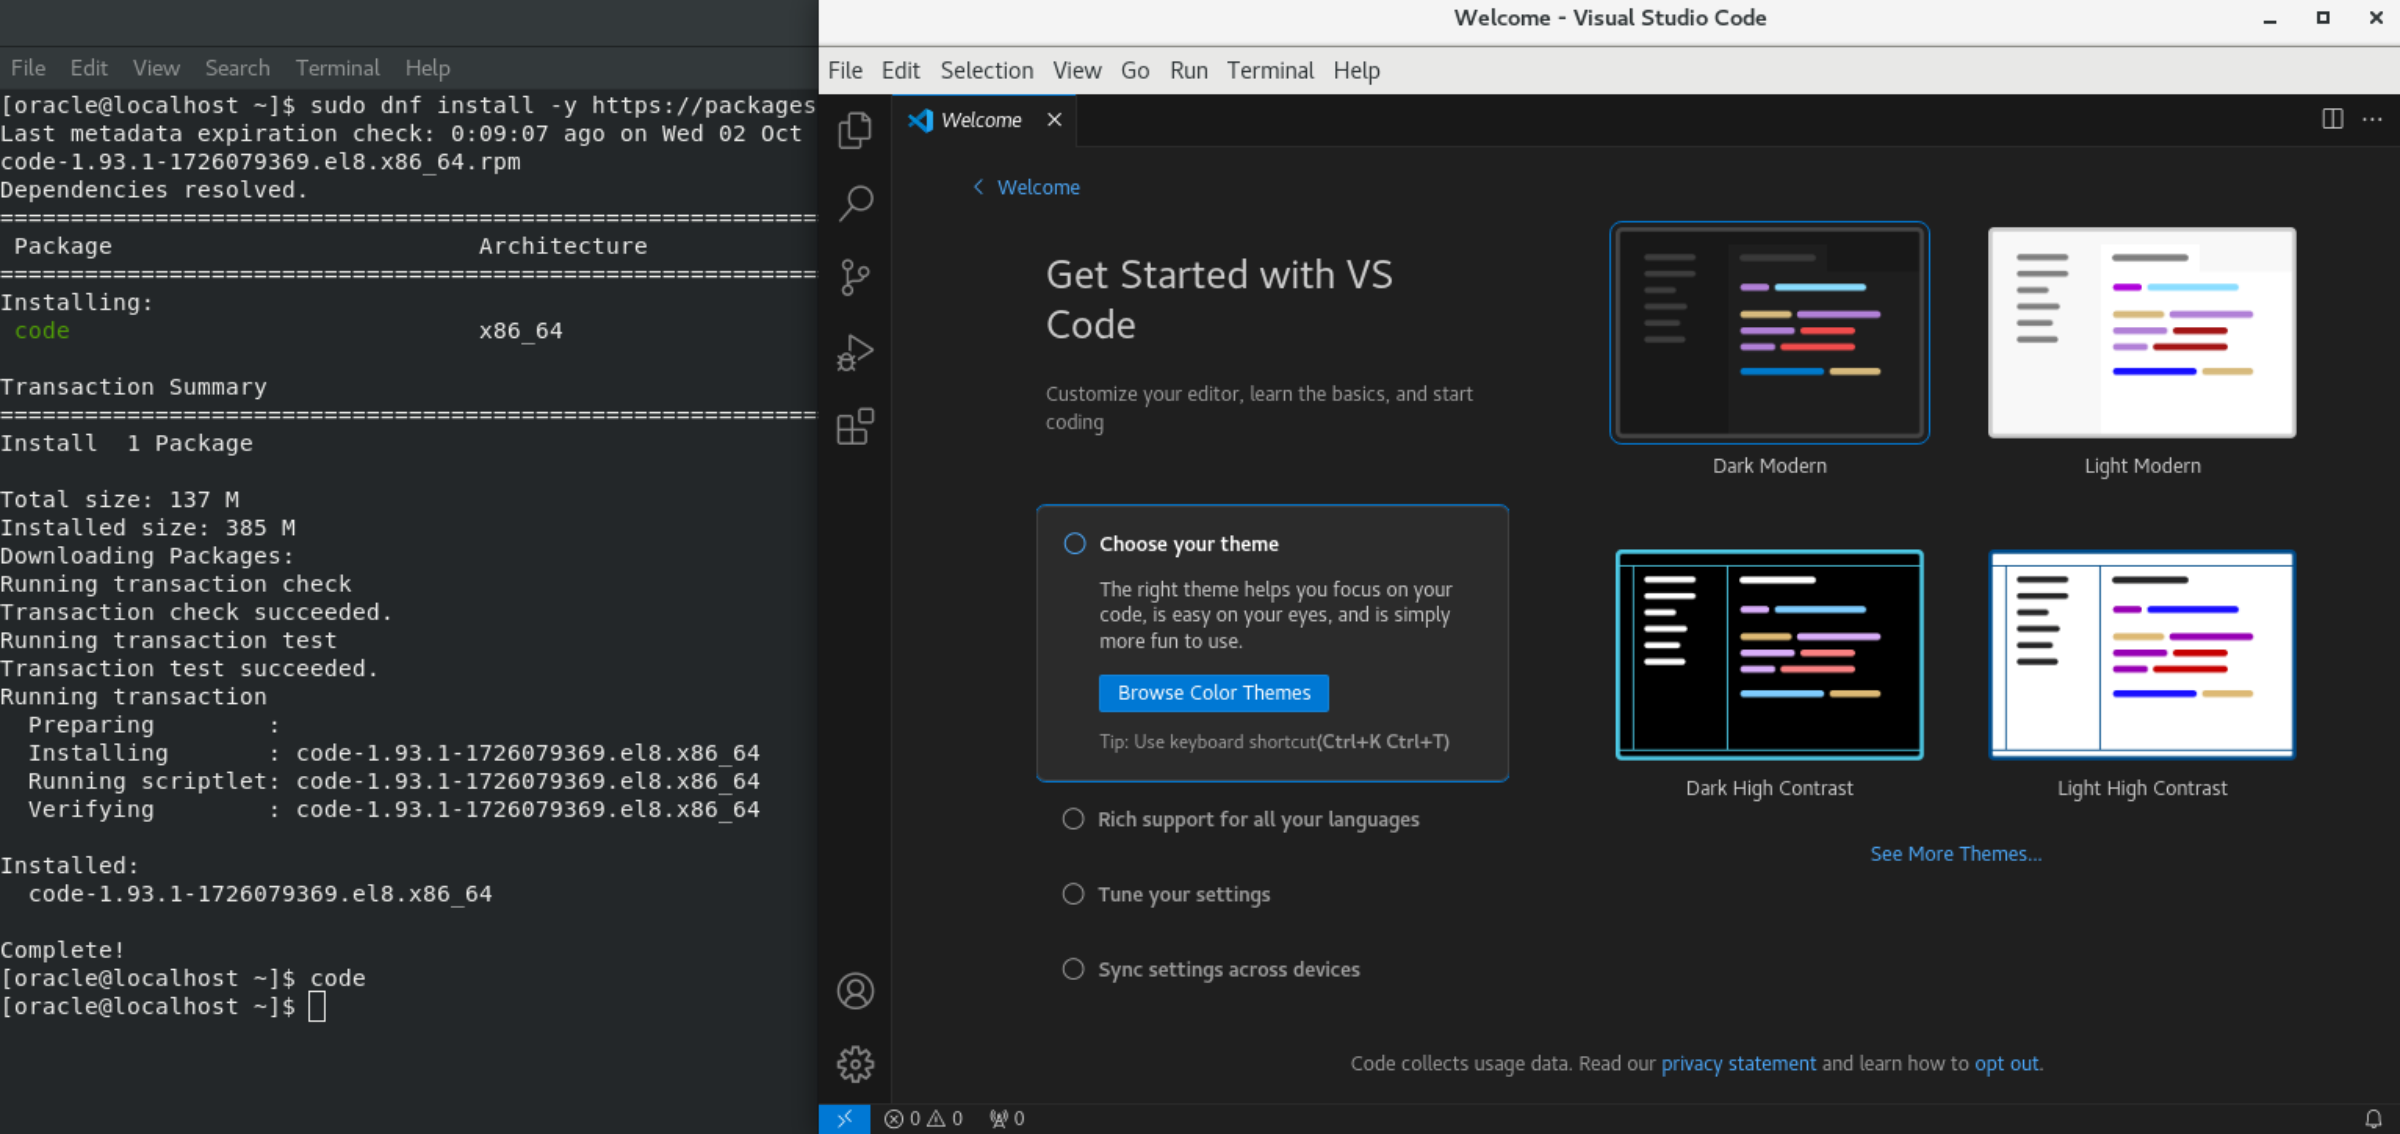
1 sudo dnf install -y https://packages.microsoft.com/yumrepos/vscode/Packages/c/code-1 .93 .1 -1726079369 .el8.x86_64.rpm
1
2
3
4
5
6
7
8
9
10
11
12
13
14
15
16
17
18
19
20
21
22
23
24
25
26
27
28
29
30
31
[oracle@localhost ~]$ sudo dnf install -y https://packages.microsoft.com/yumrepos/vscode/Packages/c/code-1.93.1-1726079369.el8.x86_64.rpm Last metadata expiration check: 0:09:07 ago on Wed 02 Oct 2024 09:00:55 AM UTC. code-1.93.1-1726079369.el8.x86_64.rpm 9.8 MB/s | 137 MB 00:14 Dependencies resolved. ========================================================================================================================================================================= Package Architecture Version Repository Size ========================================================================================================================================================================= Installing: code x86_64 1.93.1-1726079369.el8 @commandline 137 M Transaction Summary ========================================================================================================================================================================= Install 1 Package Total size: 137 M Installed size: 385 M Downloading Packages: Running transaction check check succeeded.Running transaction test Transaction test succeeded. Running transaction Preparing : 1/1 Installing : code-1.93.1-1726079369.el8.x86_64 1/1 Running scriptlet: code-1.93.1-1726079369.el8.x86_64 1/1 Verifying : code-1.93.1-1726079369.el8.x86_64 1/1 Installed: code-1.93.1-1726079369.el8.x86_64 Complete!
安裝完成後,啟動 VS Code。
總結
有 Oracle Database 23ai Free 的開發環境就弄好囉! 在這篇文章中,我們介紹了如何在 Windows 系統上安裝 Oracle VM VirtualBox,並匯入已配置好環境的 OVA 檔案。此外,我們還在虛擬機器中確認了資料庫連線,解決了網路連接問題,並成功安裝了 Python 3.12 和 Visual Studio Code,完成了開發環境的前置作業。
下一篇文章中,我將參照 Oracle LiveLabs 這篇 AI Vector Search - 7 Easy Steps to Building a RAG Application using LangChain 使用 Oracle 向量資料庫開發一個簡易 RAG(檢索增強生成)應用。